
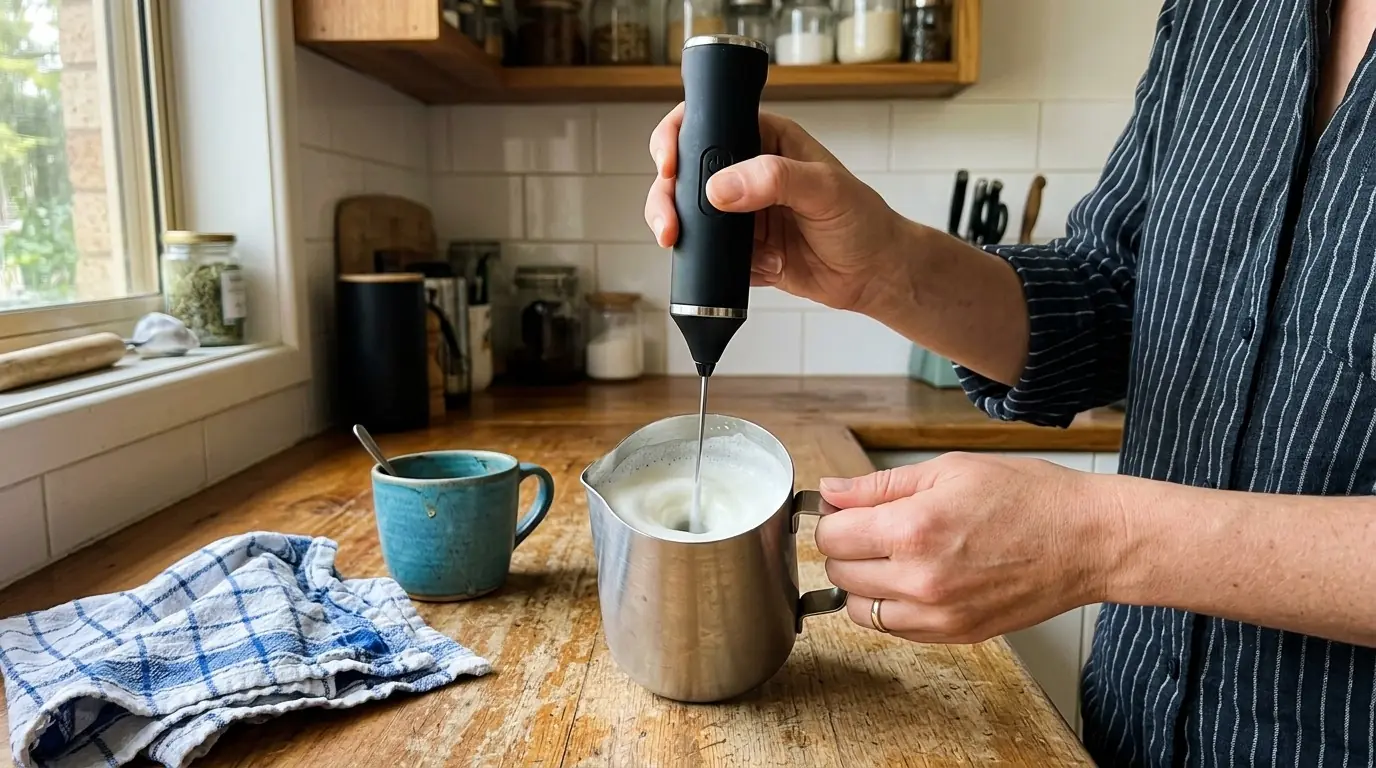
Don’t fill any frother, handheld or automatic, past its lower max-fill mark; the milk roughly doubles in volume once it’s aerated, and overfilling is the top reason it floods over the top or never froths properly. Full-cream milk gives the thick, silky microfoam a flat white or latte needs, while skim milk makes bigger, airier bubbles that suit a cappuccino’s foam cap.
Learning how to use a milk frother properly takes about five minutes once you know which type is on your bench. A handheld wand, an automatic jug like Nespresso’s Aeroccino, and a machine’s built-in steam wand all aerate milk, but they don’t work the same way, and the wrong technique on any of them means a puddle on the bench or flat, bubbly milk instead of real foam. This guide covers all three, plus the milk type and fill-line rules behind whether your foam actually holds together. Don’t have any of these three on hand? Our guide to frothing milk without a frother covers the jam jar, plunger, whisk and blender methods instead. If you’re still getting to grips with the machine itself, our beginner’s guide to using a coffee machine is the place to start first.
Three Types of Milk Frother You’ll Find at Home
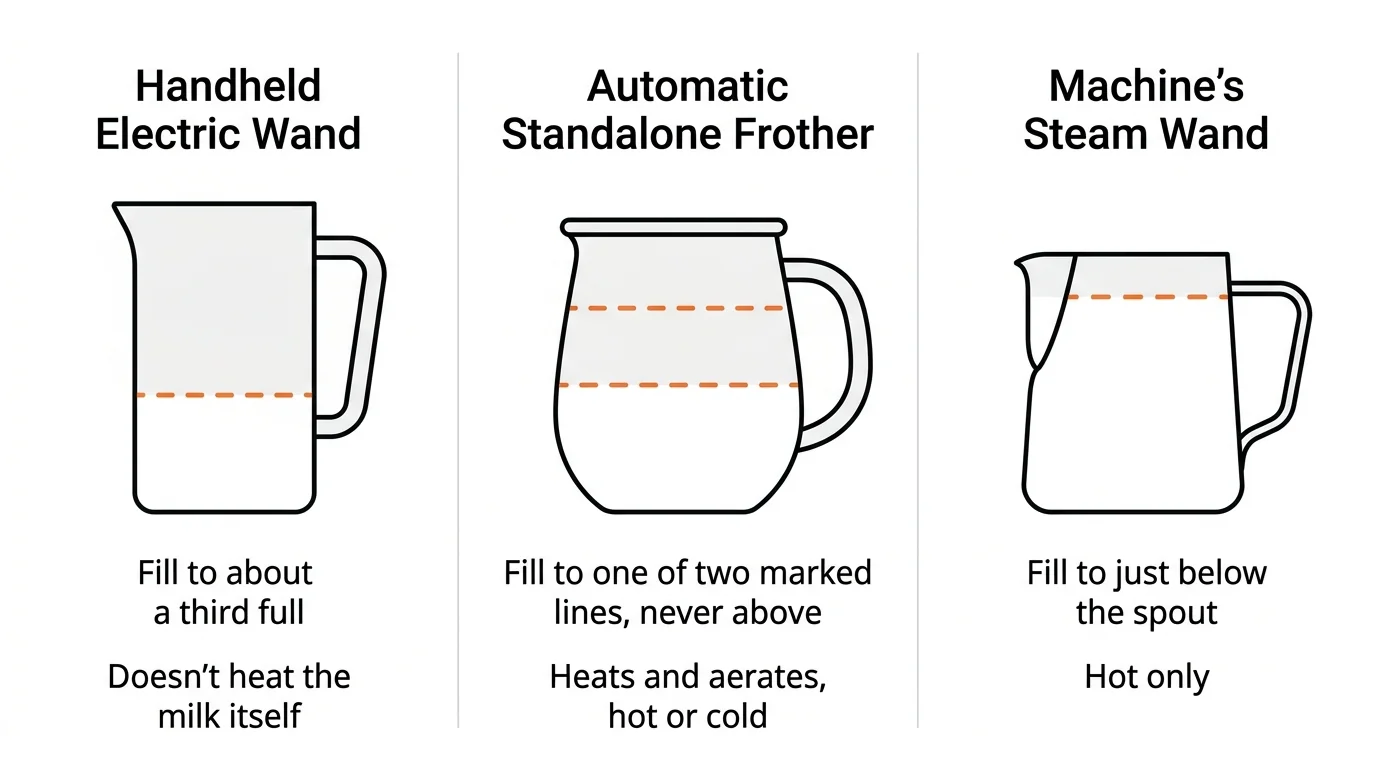
| Frother Type | How It Works | Typical Fill Rule | Hot and Cold Froth |
|---|---|---|---|
| Handheld electric wand | A small motor spins a whisk you hold in a jug of milk | Fill to around a third full | Doesn’t heat the milk itself |
| Automatic standalone frother (e.g. Nespresso Aeroccino) | A jug on a base spins a whisk and heats the milk | Fill to one of two marked lines, never above them | Yes, most models do both |
| Machine’s built-in steam wand | Pressurised steam is injected into a hand-held jug of milk | Fill to just below the spout | Hot only, a different skill again |
1. How to Use a Milk Frother Wand (Handheld Type)
This is the cheapest option: a small stick with a coiled whisk on the end, running on batteries or a rechargeable motor. It doesn’t heat milk on its own, so decide upfront whether you want it hot or cold and warm the milk separately if needed.
- Pour milk into a tall, narrow jug to around a third full, so it has room to roughly double once aerated.
- Submerge the whisk near the bottom and switch it on, holding the jug at a slight angle.
- After 10 to 15 seconds, slowly raise the whisk toward the surface. This is what pulls air in and builds foam, not just stirring.
- Hold it under the surface another 10 to 20 seconds until visibly thickened, then dip it briefly to break up large bubbles.
- Switch off, lift the whisk out, and tap the jug on the bench before pouring.
Rinse the whisk under running water the moment you’re done. Dried milk seizes the coil spring faster than almost anything else in a home coffee setup fails.
2. Using an Automatic Standalone Frother: How to Use a Nespresso Milk Frother
Nespresso’s Aeroccino range is the automatic frother most Australian kitchens own, so if you’ve searched how to use a Nespresso milk frother, this is probably it. It’s a separate jug on a powered base that heats and aerates milk in one go, no stovetop needed.
The steps below are verified against the current Aeroccino3 and Aeroccino4, what most Nespresso machines in Australia are sold or paired with. Got the newer app-connected Barista Milk Frother instead? Fill lines are similar, but recipes are chosen through the app, so its buttons won’t match what’s described here.
- Attach the correct whisk. The Aeroccino3 uses one whisk for milk and a coiled spring for froth; the Aeroccino4 uses a single whisk for everything.
- Pour cold milk to one of the two marked lines. The lower line is the froth maximum, since froth needs headroom to expand; the higher line is for plain hot milk.
- Fit the lid and place the jug on its base.
- Choose hot or cold. On an Aeroccino3, press once for hot froth (red light) or hold for around two seconds for cold froth (blue light). The Aeroccino4 has four buttons instead: two hot froth textures, cold froth, and plain hot milk.
- Wait for the light to stop blinking (roughly 70 to 80 seconds for hot froth, 60 for cold), then pour straight away before it separates.
On capacity, Nespresso’s own Australian guide confirms the Aeroccino3 and Aeroccino4 both hold up to 120mL for hot or cold froth, or up to 240mL of hot milk with no froth, so a bigger jug doesn’t mean a bigger froth batch.
Clean it straight after use, before the milk film dries. The Aeroccino3’s jug isn’t dishwasher safe, so rinse under running water and dry the underside before it goes back on the base. The Aeroccino4’s parts, other than the base, can go in the dishwasher at up to 70°C. Never submerge the base itself; it houses the motor and heating element.
Still setting up the machine rather than the frother? Our guide to using a pod coffee machine covers the pod side, and the Nespresso cleaning and descaling guide is worth bookmarking, since a spotless frother on a scaled-up machine only gets you halfway there.
3. A Machine’s Built-In Steam Wand (Briefly)
Some espresso machines, including Breville’s Barista range, have their own steam wand instead of a separate frother jug. It’s a genuinely different skill: you hold the jug by hand, control depth and angle yourself, and judge texture by ear rather than waiting for a light to change colour. Get it wrong and you’ll scald the milk instead of foaming it.
Steaming deserves its own walkthrough rather than a rushed paragraph here, so this guide covers only the fill rule: pour to just below where the spout curves in, since milk expands substantially under steam. Working through a Barista Express? Its steam wand replaces this appliance entirely, so the technique is worth practising on its own rather than trying to match these steps.
Which Milk Actually Froths Best
Fat content changes the foam more than the frother does. Full-cream milk holds air in smaller, more stable bubbles, giving the thick, glossy microfoam a flat white or latte relies on. Skim and low-fat milk froth up lighter and larger, with bigger bubbles that collapse faster, which suits the drier, taller foam cap a cappuccino wants.
Cold, fridge-temperature milk froths more reliably than milk at room temperature, whichever device you’re using. Plant-based milks such as oat, soy and almond can be frothed too, but they behave less predictably between brands, so test a new one before serving it to guests.
Getting the Right Froth Texture: Flat White vs Latte vs Cappuccino
These aren’t interchangeable names for “coffee with milk”, and the foam you want is genuinely different for each.
| Drink | Foam Style | What to Aim For |
|---|---|---|
| Flat white | Thin layer of velvety microfoam | Mostly steamed milk with a few millimetres of foam folded through, no thick cap |
| Latte | Thin foam, slightly deeper than a flat white | A loose, pourable foam around a centimetre, soft enough for simple latte art |
| Cappuccino | Thick, airy foam cap | Roughly equal thirds espresso, steamed milk and foam, spoonable on top |
A long black has no milk at all, so none of this applies there. If your frother only produces one froth style, run it briefly for a flat white’s thinner microfoam and closer to the full cycle for a cappuccino’s thicker cap.
Common Frothing Mistakes
- Overfilling the jug. The single most common failure across every frother type. Milk roughly doubles in volume once aerated, so filling past the marked line means it overflows the jug or the lid seal.
- Leaving milk residue to dry. A frother left unwashed for even an hour is far harder to clean, and dried milk inside a whisk eventually stops it spinning freely.
- Using milk straight from the bench. Warm milk froths inconsistently and can scald before it aerates. Keep it in the fridge until you’re ready.
- Letting frothed milk sit before pouring. Foam and liquid separate within a minute or two, so pour promptly.
When to Troubleshoot Further, and When to Replace It
If froth suddenly comes out thin or uneven, check the fill line first, then check for dried milk residue on the whisk before assuming the device is faulty. A proper clean solves most frothing complaints.
Worth calling it when: an automatic frother’s motor won’t spin the whisk at all, the base won’t heat, or a handheld wand’s battery drains within seconds despite being freshly charged. None of those are cleaning problems, and that’s where replacement beats persisting.
Frequently Asked Questions
How to use a milk frother for the first time?
Fill it to its marked fill line with cold milk, never above it, then run it through one full cycle before making a drink so you know how long it takes and how much foam it actually produces.
How do I use a Nespresso milk frother?
Fill the jug to the lower line for froth or the higher line for plain hot milk, press the button for hot froth or hold it briefly for cold, then pour as soon as the light stops blinking.
Why does my milk frother overflow?
Almost always overfilling. Milk roughly doubles in volume once it’s aerated, so filling a jug more than a third full, or past its marked line, leaves nowhere for that extra volume to go.
What milk froths best in a milk frother?
Full-cream milk gives the thickest, most stable microfoam, which suits a flat white or latte. Skim milk froths lighter with bigger bubbles, which works well for a cappuccino’s foam cap.
Do I need to clean a milk frother after every use?
Yes. Rinse or wash it as soon as you’re done, since dried milk is harder to remove and can eventually stop a whisk or spring from moving freely.
Is a milk frother the same as a steam wand?
No. A milk frother is a standalone handheld or automatic device, while a steam wand is part of an espresso machine and uses pressurised steam with a hand-held jug, a different technique to learn.
